Online Image Converter
Getting Started
- Product Name : Online Image Converter
- Product Version : v 2.0.0
- Author : LittleJohn
- Email : westiti@gmail.com
- License : Codester Licenses
First of all, Thank you so much for purchasing this script and for being a loyal customer. You are awesome!
You are entitled to get free lifetime updates to this product + exceptional support from the author directly.
This documentation is to help you regarding each step of installation and customization. Please go through the documentation carefully to understand how this script is made and how to edit it.
If you have any questions that are beyond the scope of this documentation, please feel free to leave a comment or contact me through the email above.
Be careful while editing the source code. If not edited properly, the script may break completely.
Requirements
This script is built using Laravel 10, so you can check the official documentation for more details.
- PHP version 8.1 or higher.
- Apache server
-
The following PHP extensions should be installed and enabled:
- Bcmath
- Ctype
- cURL
- DOM
- Fileinfo
- Filter
- Hash
- Imagick
- Intl
- Mbstring
- OpenSSL
- PCRE
- PDO
- Session
- Tokenizer
- XML
- Zip
- mod_rewrite enabled.
- A MySQL Database
Installation:
Upload the upload.zip archive to your server and extracting it, typically, in the /public_html folder in a shared hosting or /var/www/example.com on a VPS hosting.
Next visit the app URL in the browser and you should see the installation page. The installer wizard will guide you through the process of installing and configuring your app. This process consists of three steps: server requirements, database setup, and admin setup.
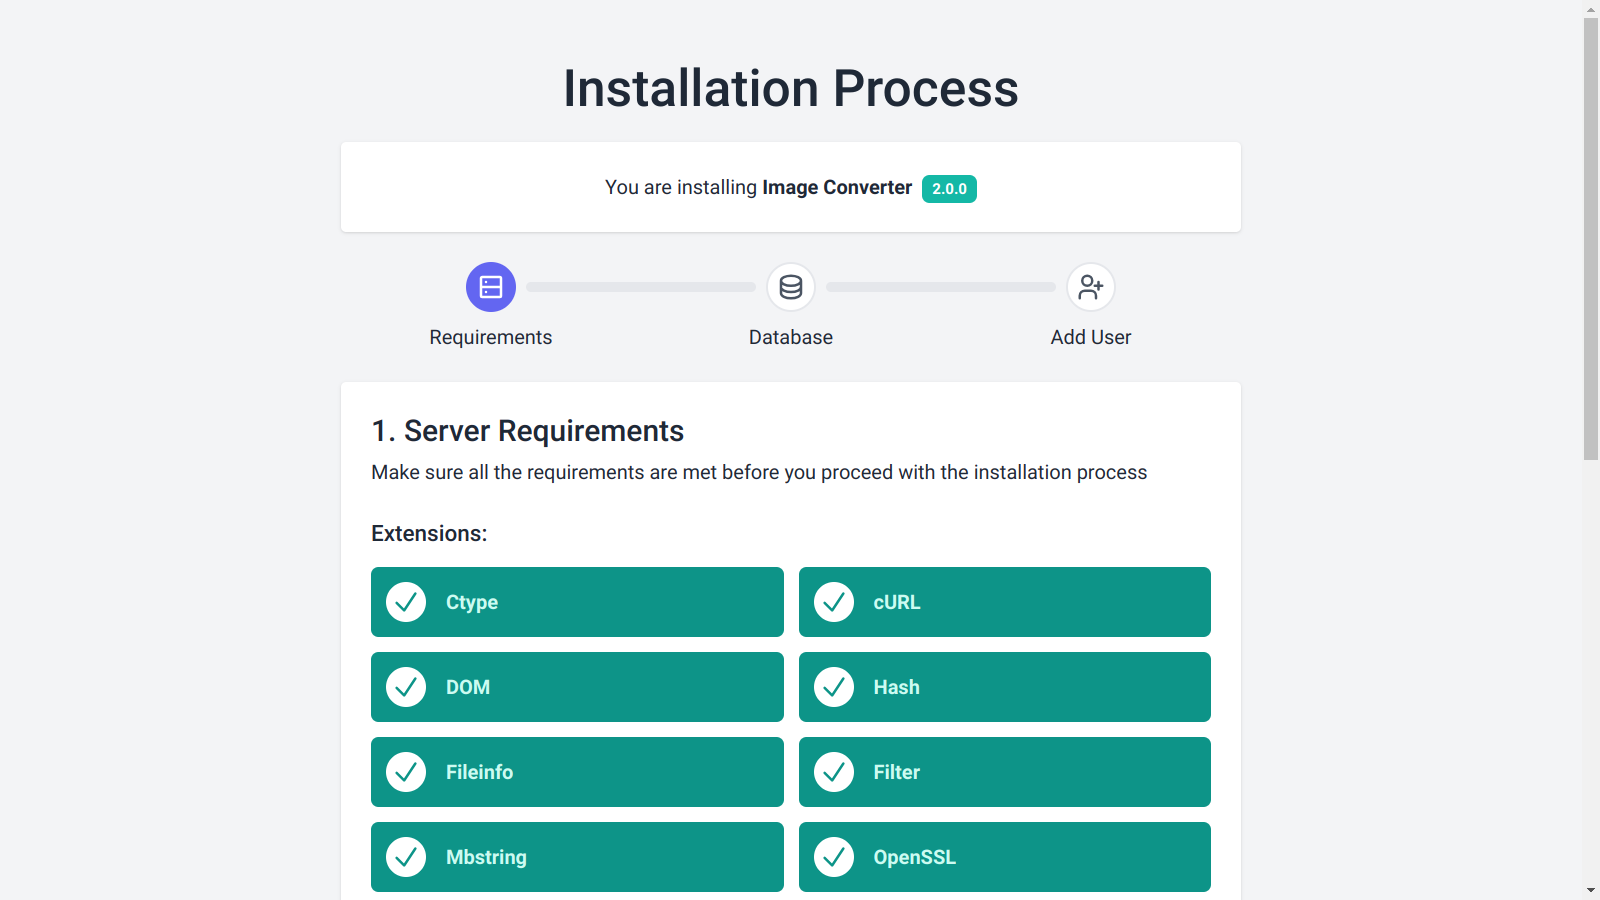
Step 1 - Server requirements:
This step will ensure that all the server requirements are met before you can proceed any further.
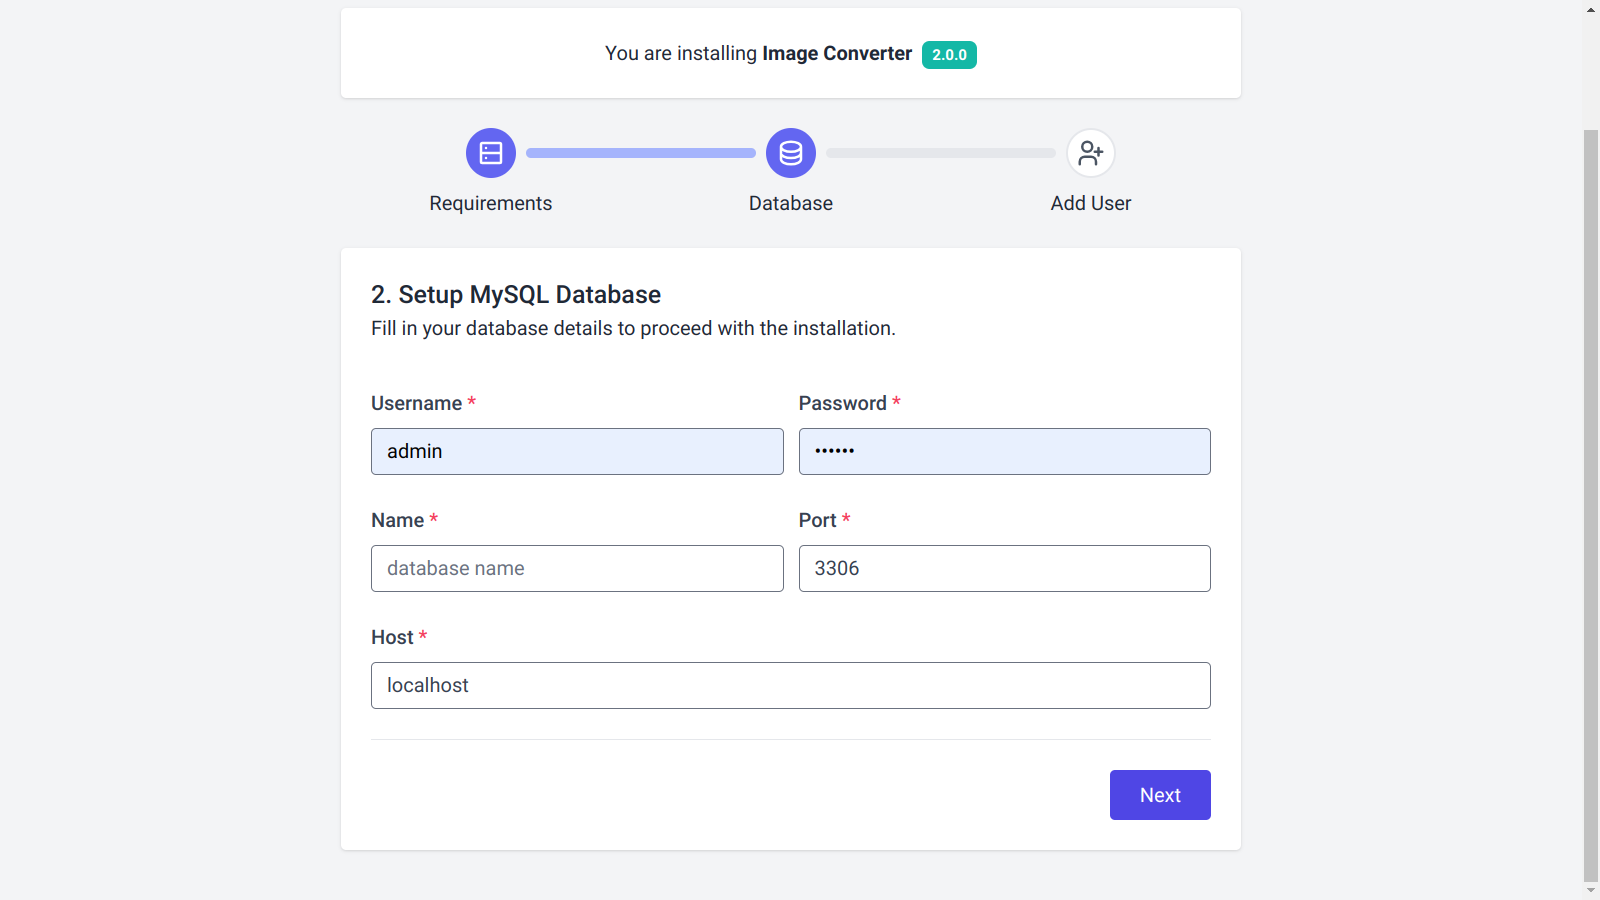
Step 2 - Database setup:
You need a MySQL database for use with this project. If you are using cPanel this is a link to a YouTube video that will help you create a new MySql database: https://www.youtube.com/watch?v=CHwxXGPnw48.
After creating a new database, you just need to fill out the respective details in the installer.
- Database Username in the Username field.
- Database Password in the Password field.
- Database Name in the Name field.
- Database Port in the Port field. (Usually 3306)
- Database Host in the Host field. (Usually localhost)
Step 2 - Admin setup:
After setting up the database, you must create the admin user. Fill in the form with the respective details and make sure your website's URL is valid. Click on the Button to complete the installation process.
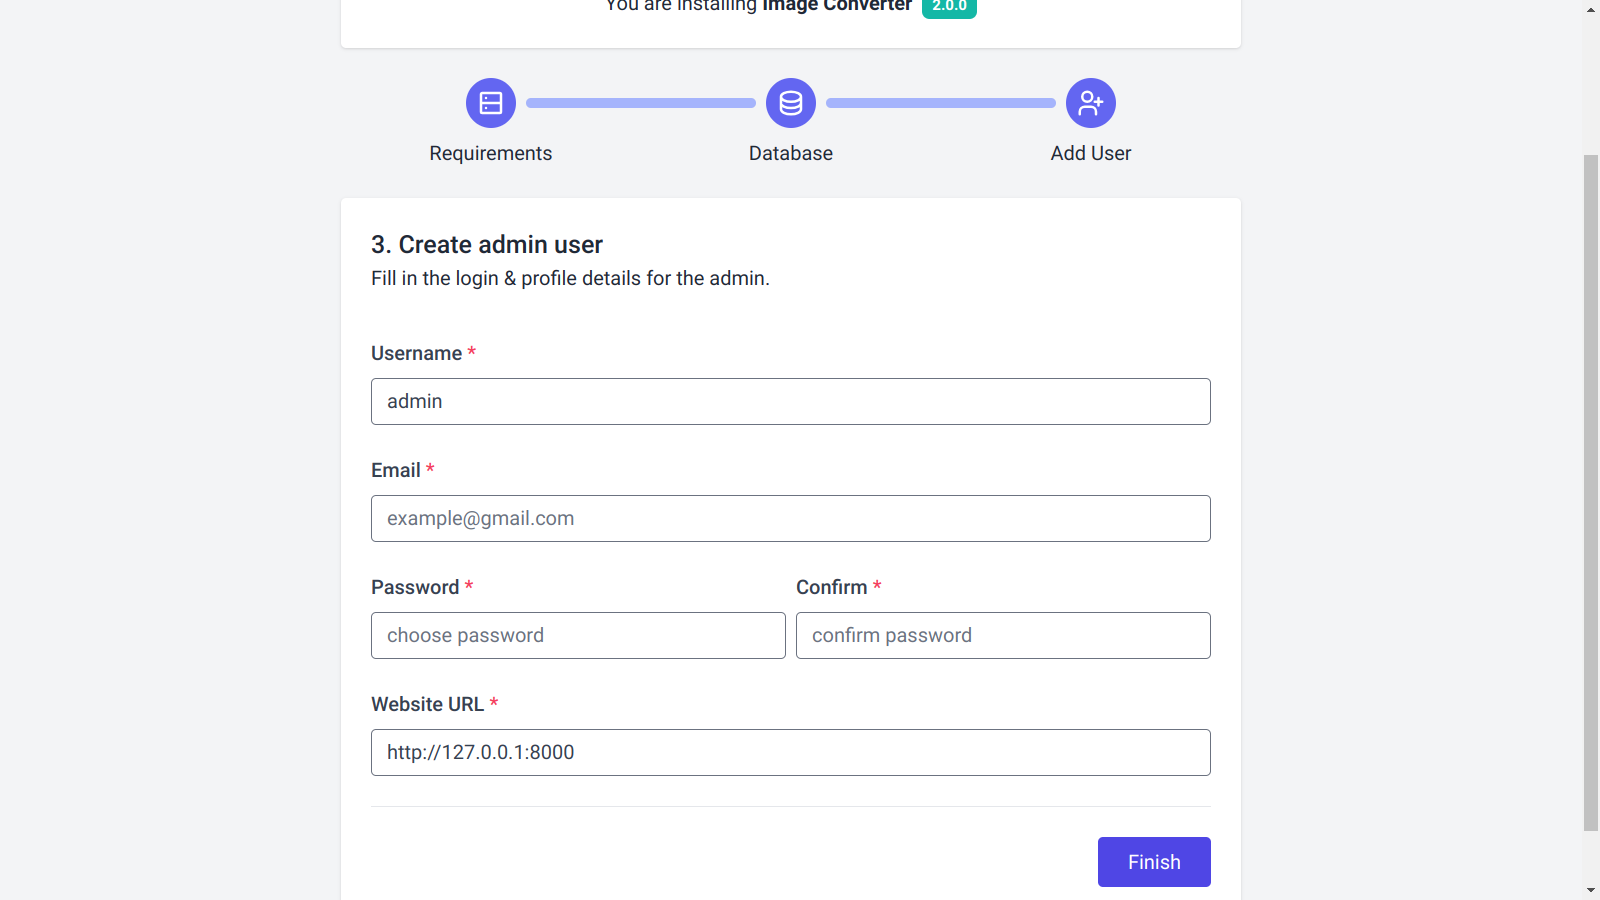
If all goes well, you will be redirected to the Admin Panel. Log in with your newly created account and enjoy the app.
Image formats:
This script uses the php Imagick extension to convert images into different formats. By default, Imagick supports many image formats, but, depending on your server, some formats may require third-party delegate libraries or additional configurations to be fully supported by the script.
Shared hosting:
For shared hosting, supported formats depend on the hosting provider. And since you cannot install the required third-party libraries, you are stuck with the default supported formats.
VPS hosting:
With VPS, you can install needed packages and configure your server as you see fit. The most common operating systems are Ubuntu and CentOS 7. For this script, I recommend using Ubuntu 22.04 or higher.
VPS: Ubuntu 22.04
By default, Ubuntu 22.04 can convert images to APNG, AVIF, BMP, DDS, DIB, GIF, HDR, HEIC, HEIF, ICO, JP2, JPE, JPEG, PNG, PSD, RAW, TGA, TIFF, WBMP, and WEBP.
PDF, AI, and EPS are also supported by default as output formats but are not supported as input formats. To fix that, follow these steps:
- Install Ghostscript:
- Change ImageMagick policy:
$ sudo apt install ghostscript
$ sudo nano /etc/ImageMagick-6/policy.xmlAnd change:
<policy domain="coder" rights="none" pattern="PS" />
<policy domain="coder" rights="none" pattern="PS2" />
<policy domain="coder" rights="none" pattern="PS3" />
<policy domain="coder" rights="none" pattern="EPS" />
<policy domain="coder" rights="none" pattern="PDF" />
<policy domain="coder" rights="none" pattern="XPS" />
To:
<policy domain="coder" rights="read|write" pattern="PS" />
<policy domain="coder" rights="read|write" pattern="PS2" />
<policy domain="coder" rights="read|write" pattern="PS3" />
<policy domain="coder" rights="read|write" pattern="EPS" />
<policy domain="coder" rights="read|write" pattern="PDF" />
<policy domain="coder" rights="read|write" pattern="XPS" />
For SVG support, read and write, you need to install these two packages:
$ sudo apt -y install libmagickcore-6.q16-6-extra
$ sudo apt install potrace
VPS: CentOS 7
CentOS 7 is also commonly used in VPS hosting. But it's outdated and lacks support for some formats. Installing up-to-date packages on CentOS 7 often requires Remi's RPM repository. I don't recommend this OS for this script but if you know what you do, you may be able to install the required libraries for the unsupported formats.
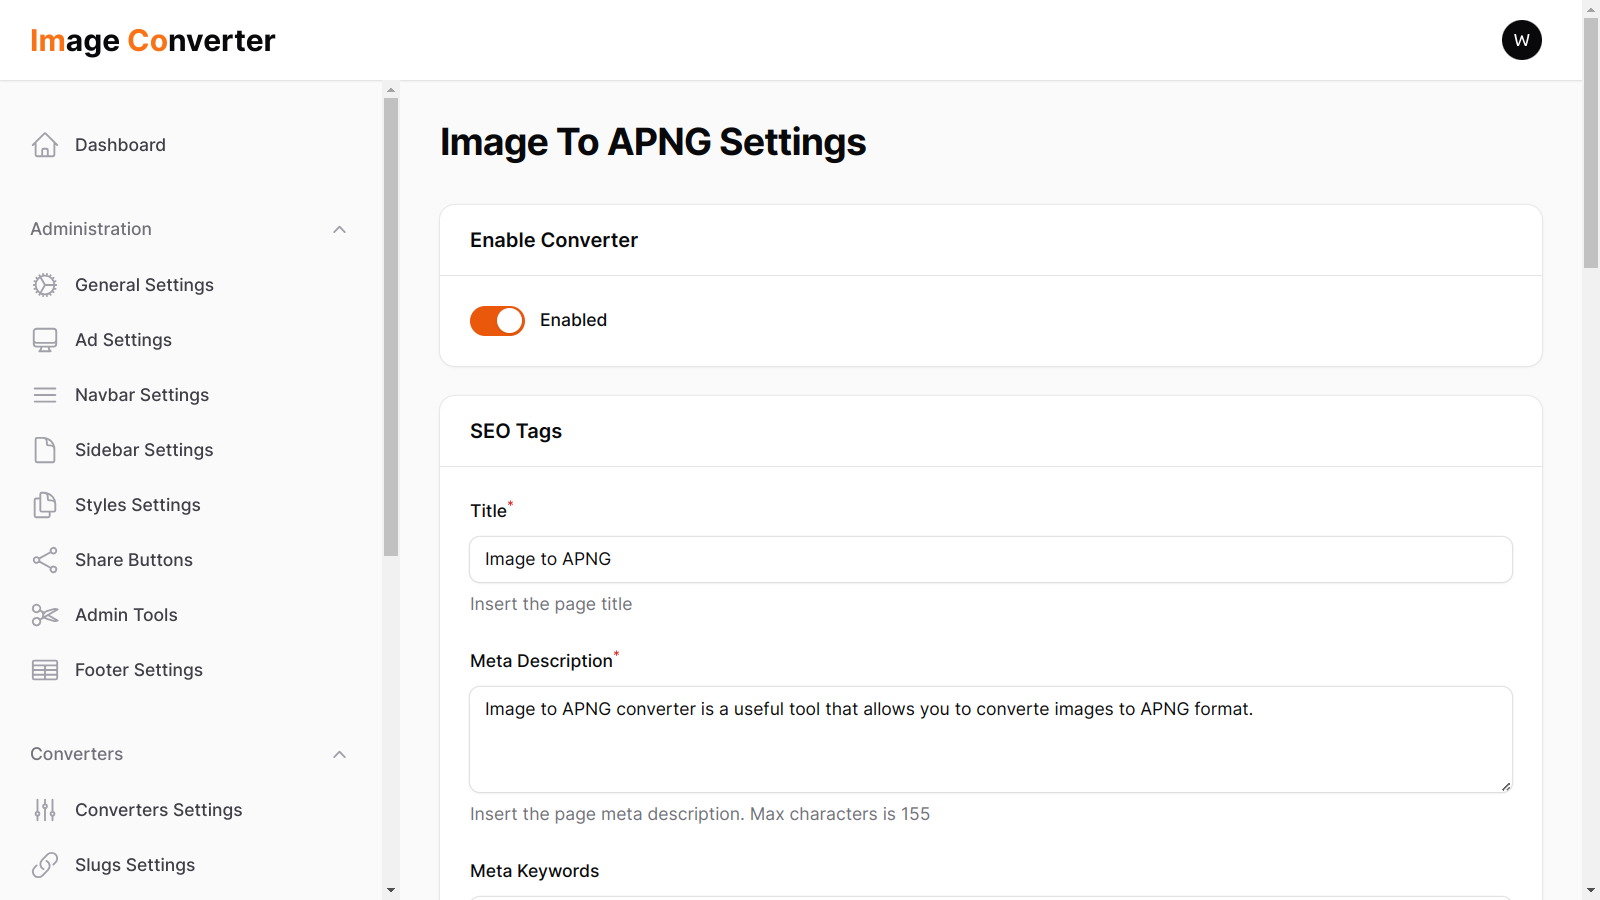
Disable unsupported converters
Since not all formats supported by every server, I added the option to enable or disable any converter from the dashboard.
Finally:
If you need more assistance deploying the app, please contact me via my email. I'll be glad to help.
That's all and good luck!